Photography - Poorly-lit Situations
Wide-Angle & Ambient Light
All modern automatic cameras use an internal "program" to determine correct exposure settings. The inputs to this program are:
- camera lens aperture range
- camera shutter speed range
- light level
- film speed or ISO
- flash mode
- operator's desire ( such as for a portrait. )
A typical exposure program might include the following parameters:
| Aperture | Shutter | Film Speed |
| f/2.0 f/2.8 f/4.0 f/5.6 f/8.0 | 1/10 1/20 1/40 1/80 1/160 | 50 100 200 400 800 |
Each step in any column corresponds to a doubling or halving of the light-gathering capability. Obviously, a 1/20 shutter will gather twice as much light as a 1/40 shutter. Less obviously, an f/2.8 aperture will collect twice as much light as an f/4.0 aperture, while a film speed of 400 requires half as much light as a film speed of 200. Unlike a film camera, with a digital camera, it is possible to alter film speed on the fly.
Changes in one column can be compensated for by opposite changes in other columns. Thus, the following exposures are all equivalent:
| Aperture | Shutter | Film Speed |
| f/4.0 f/5.6 f/4.0 f/2.8 | 1/40 1/40 1/20 1/80 | 200 400 100 200 |
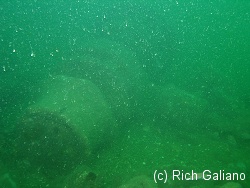
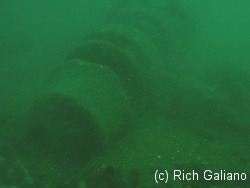
The exposure program selects an aperture and shutter speed within its available ranges so that the resulting photograph is properly exposed. Unfortunately, these programs are designed for bright topside daylight and typically will not produce good results when taken into the dim depths of the North Atlantic. In particular, most exposure programs simply refuse to use the longer shutter speeds necessary to make use of the limited ambient light. Although the camera hardware may be capable of very long exposure times, these are simply not included in the program. Instead, the program will most likely open up the aperture wide, select the slowest shutter that it can calculate, and signal an exposure error.
There are two problems with this. First and most obvious, the photo will be underexposed. Second, and more seriously, it will likely be out of focus. Compact cameras have no effective manual focus mechanism ( try using yours and see ) and most autofocus systems simply cannot cope with the low-light and low-contrast conditions underwater. As stated above, these focusing errors are compounded on better cameras with faster ( larger aperture ) lenses. The depth-of-field at f/2.0 for a typical high-end compact digital camera lens at typical underwater ranges is measured in inches ( see diagram above. ) If your autofocus system misses by two feet, the photo will be useless. Even if the autofocus is perfectly accurate, with such a tiny depth-of-field, most of a large subject is likely to be out of focus anyway.
As I said above, exposure can be fixed after the fact, but focus can not.
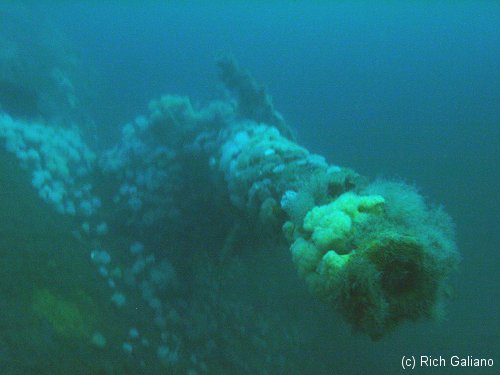
Most automatic cameras also have several semi-automatic modes, notably aperture priority and shutter priority. Using aperture priority, one could try to select a smaller aperture to lessen the focusing problems, but this would result in the camera underexposing everything, as the exposure program simply will not compensate enough with shutter speed. Shutter priority is useless, as the necessary slow shutter speeds are not made available. One could also attempt to compensate by increasing the film speed, but this results in unacceptably grainy results if taken to extreme.
Finally, one could resort to flash, but this has a number of drawbacks, which are discussed above. For wide-angle photography, the default flash sync shutter speed will simply not allow the camera to collect enough ambient light for a proper exposure, and for larger subjects at longer ranges, underwater flash is useless, or even worse than useless.
Checklist:
| 1. ISO: 2. Aperture: 3. Shutter: 4. Flash: 6. Focus: 5. Zoom: | 200 - 400 f/2.8 - f/4.0 1/8" - 1/4" on / off normal / macro full wide |
The solution to all these problems is to go into the scary realm of fully manual photography. Forget what your camera's built-in light meter is saying, ignore the "shake" warning, and escape the limitations of the automatic program. At right is a good starting point for manual exposure underwater. Notice that it says Checklist. Print this out, and stick it inside your camera housing where you can see it.
Note that the aperture is set to a fairly small f/4.0, to assure good depth-of-field and lessen autofocus errors. This is compensated for by boosting the film speed and using very long shutter speeds, which are completely outside the automatic exposure program's usable range. For extremely long exposure times, it is useful to note that digital cameras do not suffer from color-altering "reciprocity failure" as do film cameras.
It is possible to hand-hold a 1/8 second shutter speed, but for any slower shutter speed, and for best results in general, the camera should be braced against a solid object or otherwise supported. This can be as simple as setting the camera down atop a tall object or using a monopod. A monopod is like a one-legged tripod, in which you serve as the other two legs. An inexpensive, durable, lightweight, rust-free monopod can be built from PVC plumbing parts from the hardware store, and will vastly improve your photographic results.
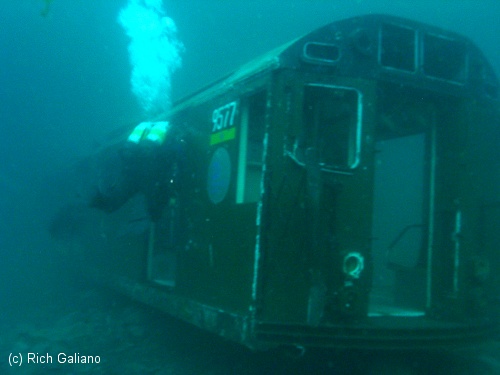
One advantage of very long shutter speeds is that objects in motion, such as particulates in the water, tend to blur out of the picture, while fixed objects remain sharp. Unfortunately, this means that fish and other divers are likely not to come out, and divers with lights can completely ruin a shot. An advantage of fully manual mode is that the flash can be turned on without affecting the selected shutter speed, and can therefore be used for "fill." However, as the pictures below illustrate, this can often backfire.
Underwater, and especially under dark local conditions, images on the camera's preview screen will appear overly bright and even washed out. This does not mean that they are overexposed but is rather just a trick of your own eye looking at that bright little screen. All pictures also look very clear and sharp on that little tiny screen, even when they are not.
You cannot judge focus or exposure by the little screen on the back of the camera !
Be sure to take multiple exposures, and "bracket" your shots. For each scene you wish to capture, take two or three shots at your base exposure setting, then two or three more with slightly different settings. This will typically mean starting with a shutter speed of 1/8 second, and then bracketing with 1/4 second and 1/16 second. Taking several shots at each setting guards against hand-shake and focus failures. After a number of shots during a dive, you may find that you can dispense with exposure bracketing and just use one particular setting, but continue to take multiple exposures for focus.
Except for the images that are grossly blurred or off-exposure, keep all the pictures you take until you get home and can judge them properly on your PC. It is much better to invest a few dollars in a big memory card than to ever use the delete button on the camera.
My thanks to Herb Segars for saving me a lot of time and trouble working out manual camera settings.

